
Ride height!
For those of us that like the accuracy of having prototypical couplers in our rolling stock and speaking from the experience of people that have a shunting puzzle layout, There is nothing worse than having constant “pull apart’s” or uncoupling’s on your running night. It can be enough to drive one, to put alliance (KD) couplers into your 1980s rolling stock! Equally annoying is a loco that shorts out the layout or derails because the cow catcher is just that little bit too low.
No matter what brand or style of coupler you are using, one of the reasons for the uncoupling’s is in the design of the coupler. Simply put, the coupler head is heavier than what the pin at the back of the draft box can resist. In a lot of passenger cars and wagons, for ease of construction many manufactures take the bottom of the head stock out where the coupler sits, Leaving no support for the head of the coupler.
The simplest fix for wagons, is to find a piece of scrap cast metal left over from the build (there is always something left over) solder it to the bottom of the head stock, and file it to the shape you are after. Or in the case of passenger cars, a piece of flat brass bar soldered across the bottom of the gap should do the trick. If it needs more, add a wear pad on top as shown for locos.
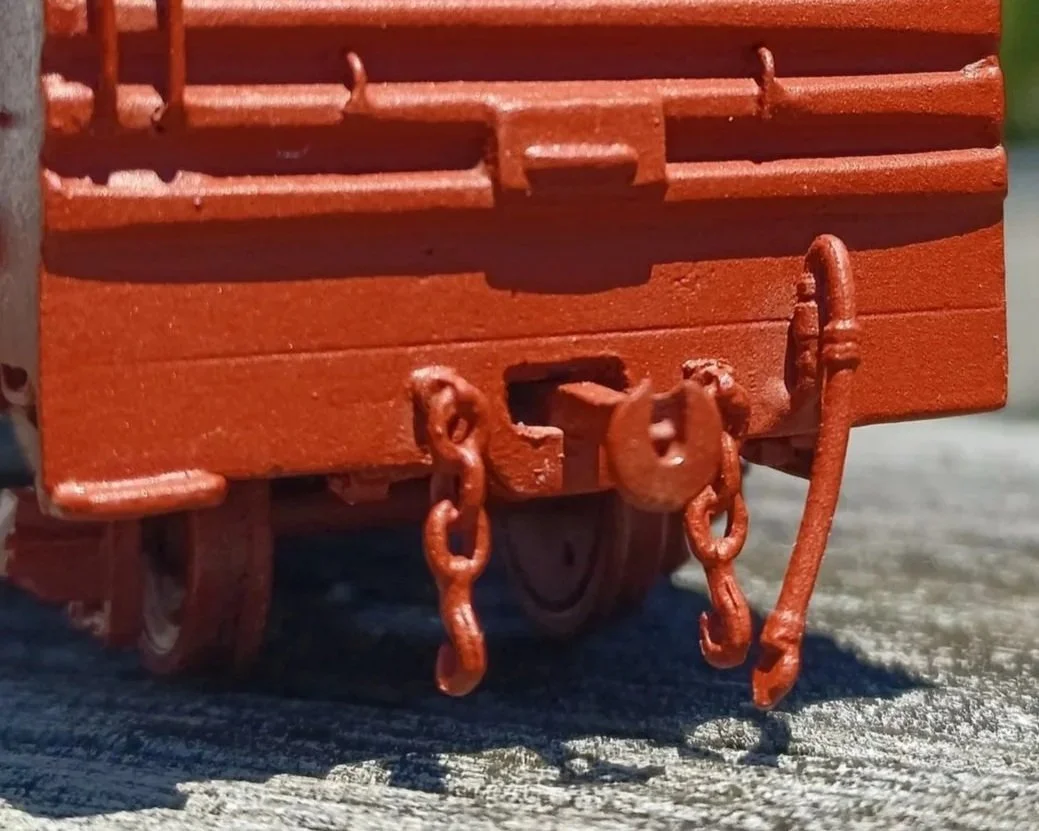
Wagon with scrap added to the head stock
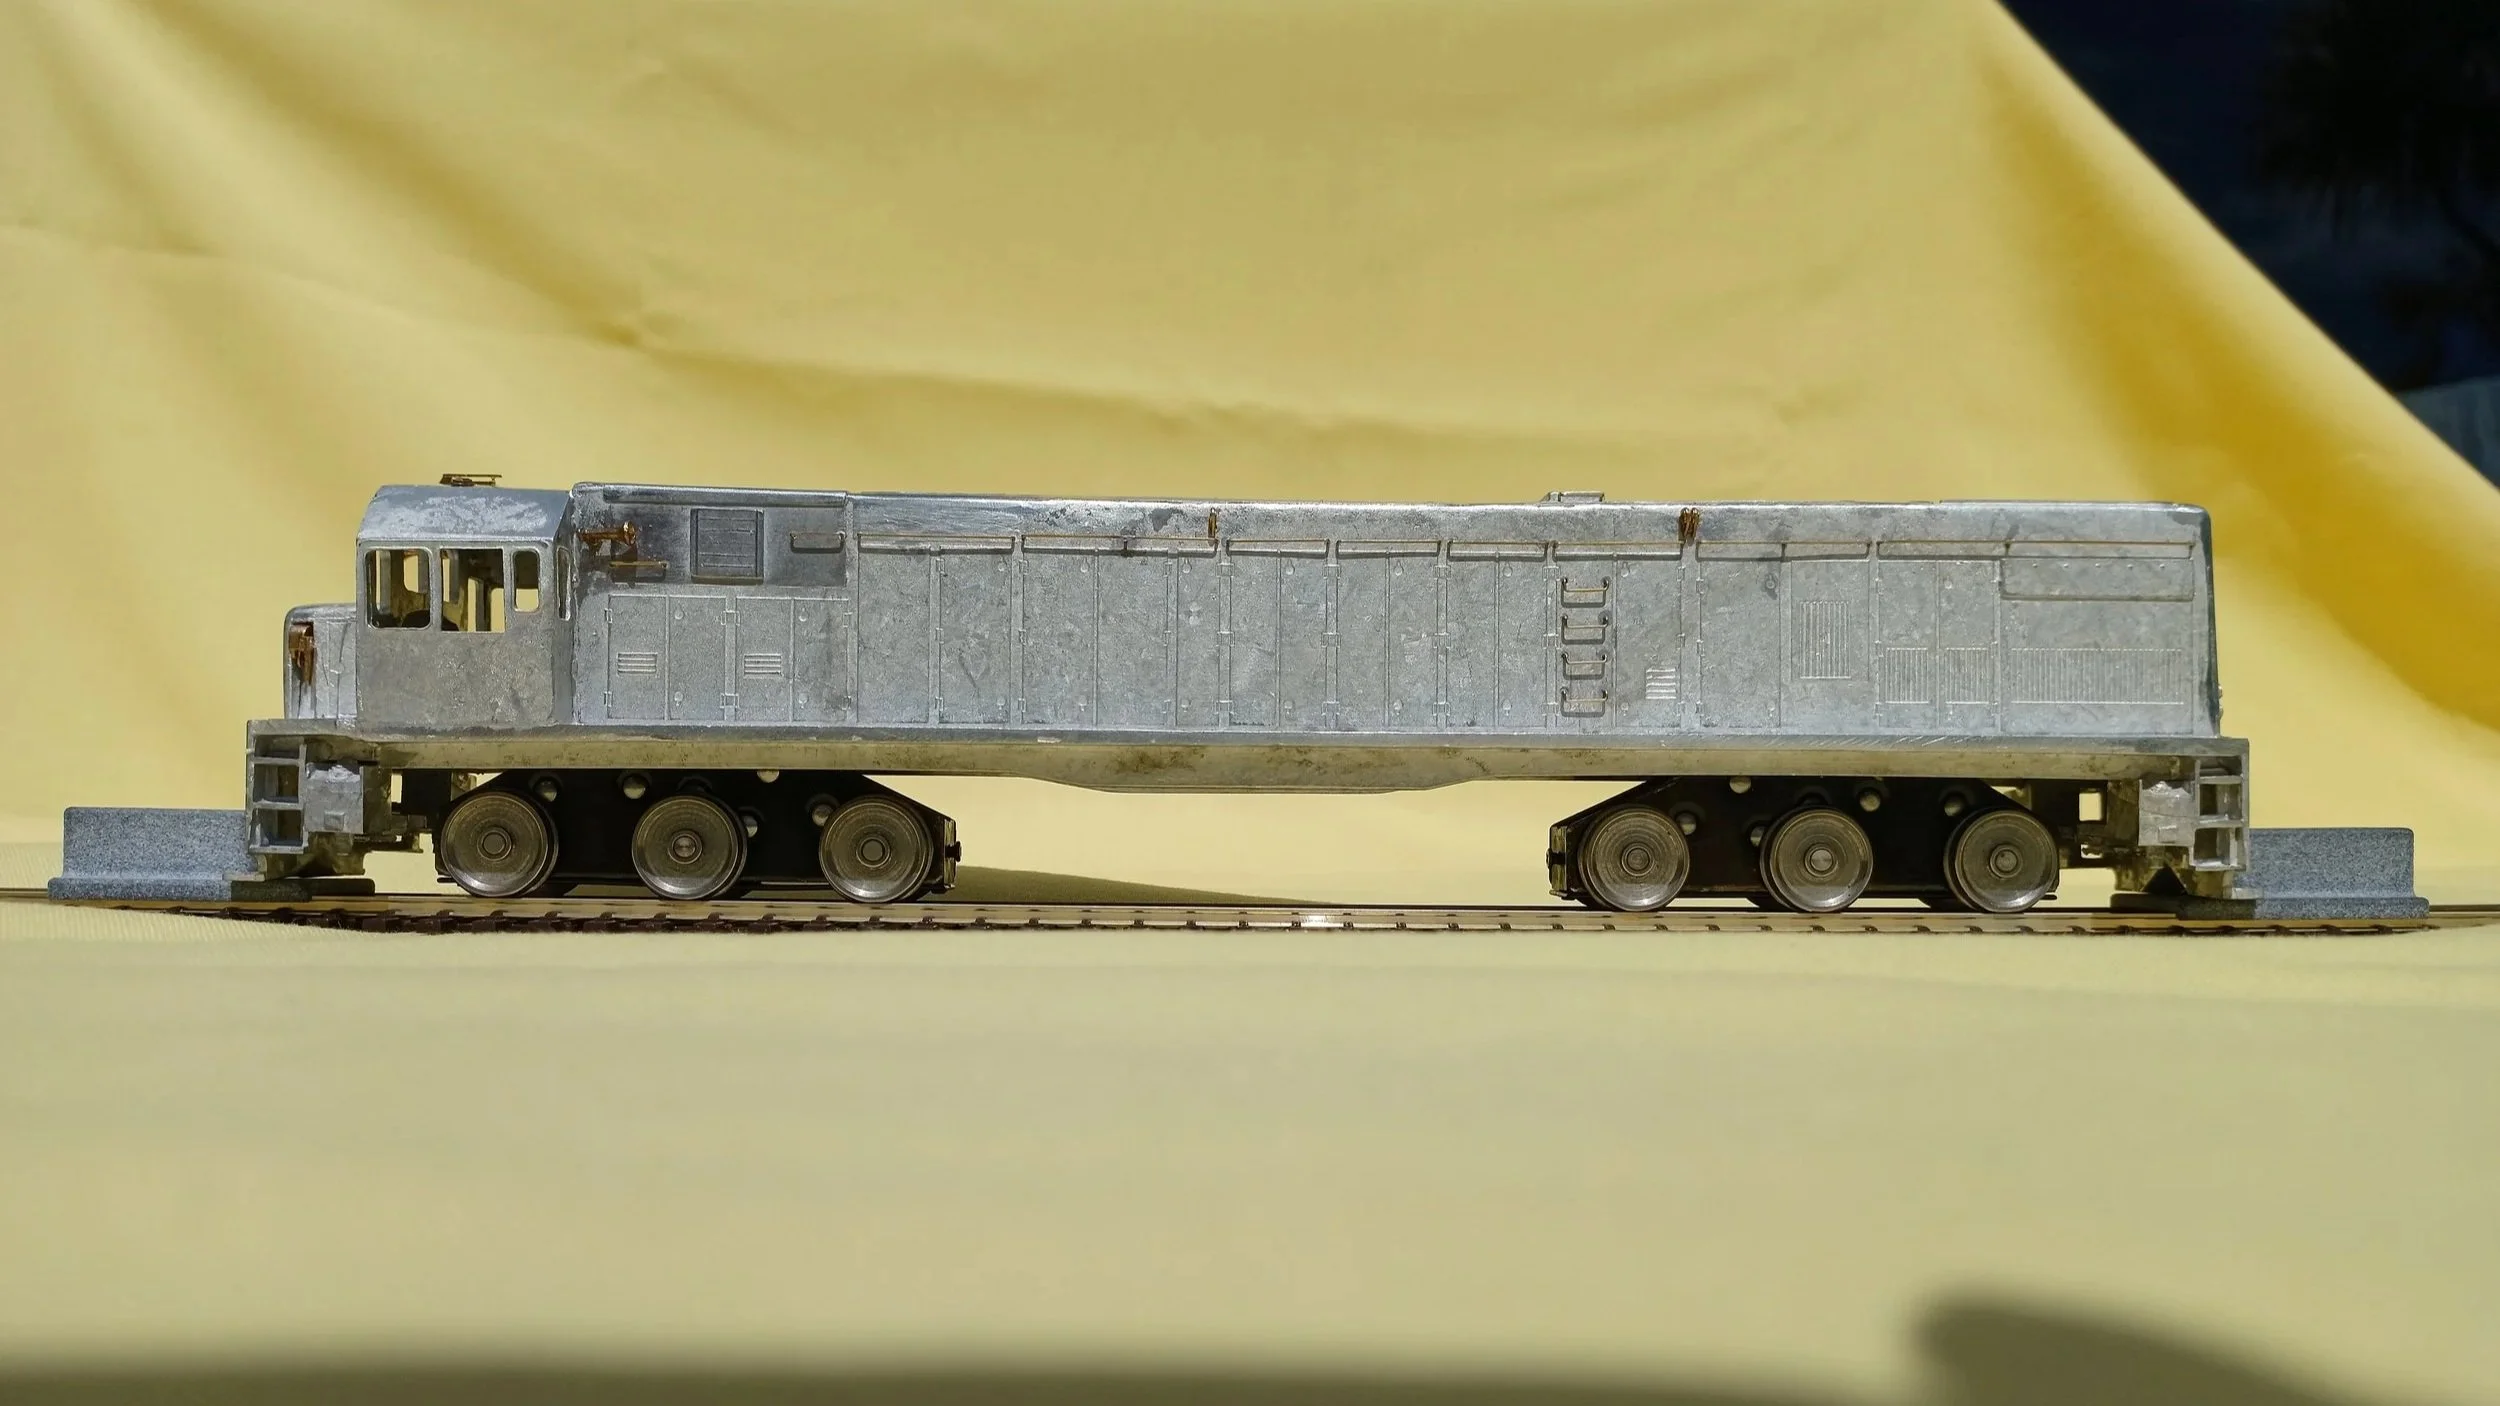
The sagging problem can also be seen in locos and in brass kits, even with the head stock complete. This too is an easy fix and adds a nice detail to your models. If you look at the real prototype you will see a wear pad sitting under the shank of the coupler. This can be easily copied by putting a piece of flat brass bar on the coupler shelf to support the coupler head.


So, what is the correct height?
Many of us have used the KD coupler gauge before and have found it fine. The problem with this is, it is designed for the American prototype. While it is good for consistency, It is not the correct coupler height above rail for the NZR scale. Never fear there is a solution! Using the heights specified in the NZR mechanical code, we have designed a purpose-built coupler & cow catcher height gauge for the NZR 1:64 scale. The mechanical code specifies a tolerance that the cow catcher height and coupler height must fit within. The gauge is set to the middle of that tolerance, the amount of tolerance aloud either side of this is personal choice.

USA coupler height & NZR coupler height
The first function of this gauge for locos is to get the cow catcher height above rail correct, which helps to take the guess work out of where to solder in the chassis mounts or for kits that have fixed chassis mounts how much packing to put between the chassis and the mounts. There is more detail on how this works in the instructions that come with the gauges.
We know from testing this gauge, that getting the cow catcher height right means the coupler hole in the head stock will be close to the right place, for the coupler draft box to be at the right height with just a bit of fine tuning required. At this height there is also next to no chance of the cow catcher shorting out the layout or derailing.


Above: Incorrect cow catcher and coupler height & Correct cow catcher and coupler height
Its second function is to get the coupler at the right height. This height applies to all rolling stock not just locos. There is a unrounded edge at the point of the gauge that is to be in line with the centre of the coupler head or in the case of the NZR couplers the pin and hole for the hook.
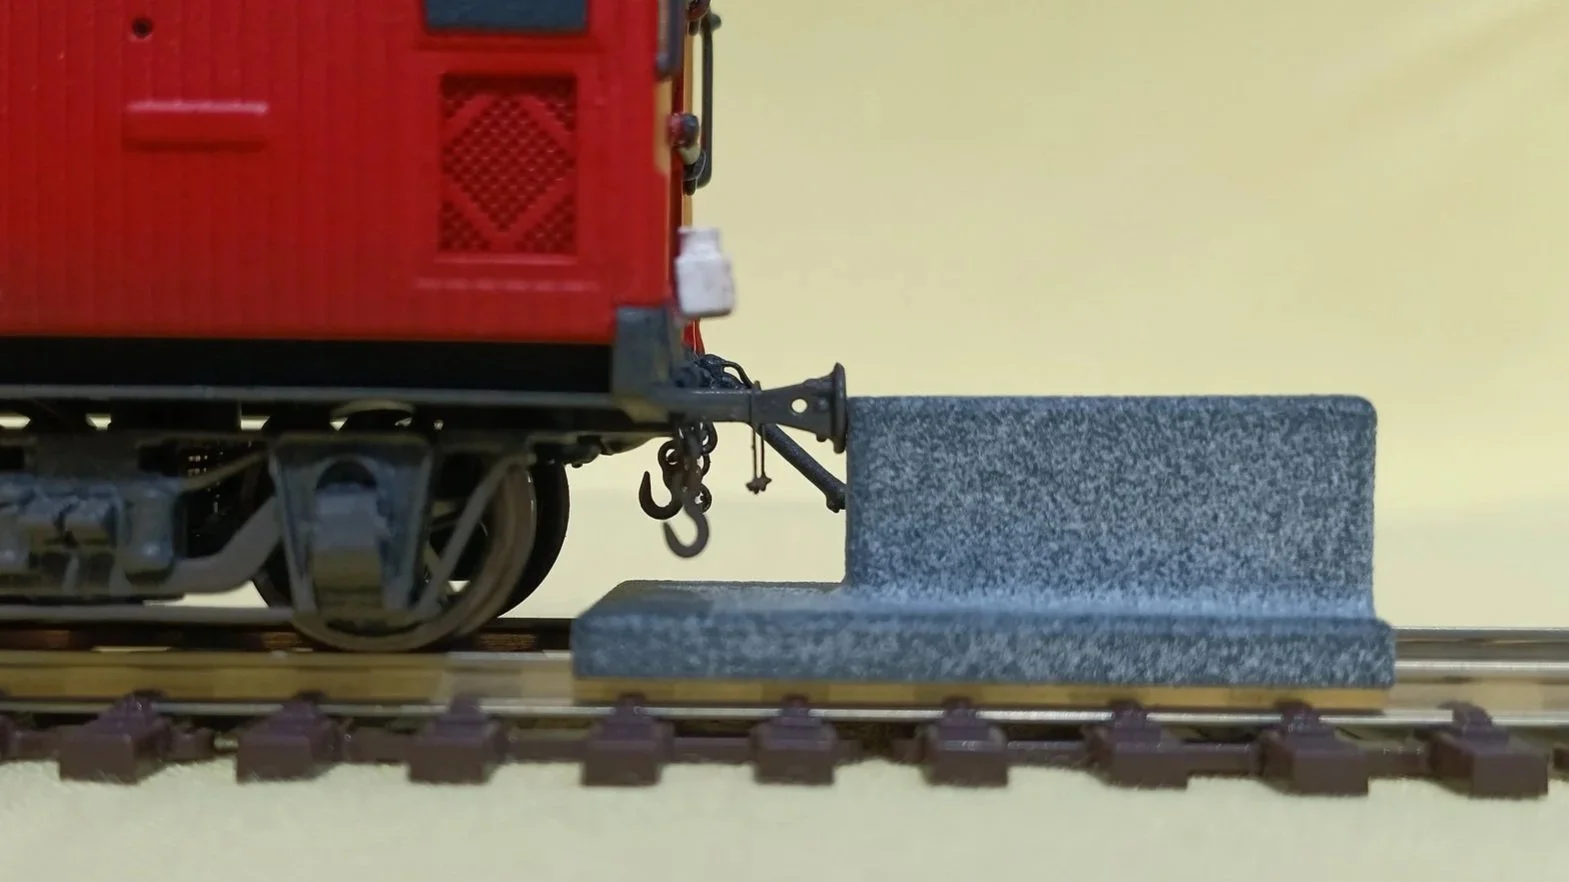
Below are some examples of the gauge in use, for both incorrect and correct NZR couplers and alliance


What’s in the box?
To make it easier to level locos you get two gauges, to assist getting the cow catcher height correct, a wire ring so you don’t lose them and more detailed instructions than the overview above.
Happy shunting!
